Think of Baixa as a easily-navigable shopping district. The busy neighborhood follows a clean grid layout, making it feel open, orderly, and walkable.
There were a few hills, but none of the steep ones we had just toured around in the Alfama district.
And in the middle of the day, the bright sun lit up the place, casting perfect shadows on the buildings and pedestrians as we walked around.
All of this – the buildings, the sunlight, and people wandering around – made for perfect street photography conditions. It fit my style, and I took full advantage.
After taking some of these photos, I caught my breath. I was in picture heaven.
This lady, watching me take photos on the busy walkway, came up to me and started singing. Lovely!
We made our way down to the Rua Augusta to the Arco da Rua Augusta, in view of the Tagus River, then back up to the Hotel do Chiado, where we grabbed lunch at their rooftop bar.
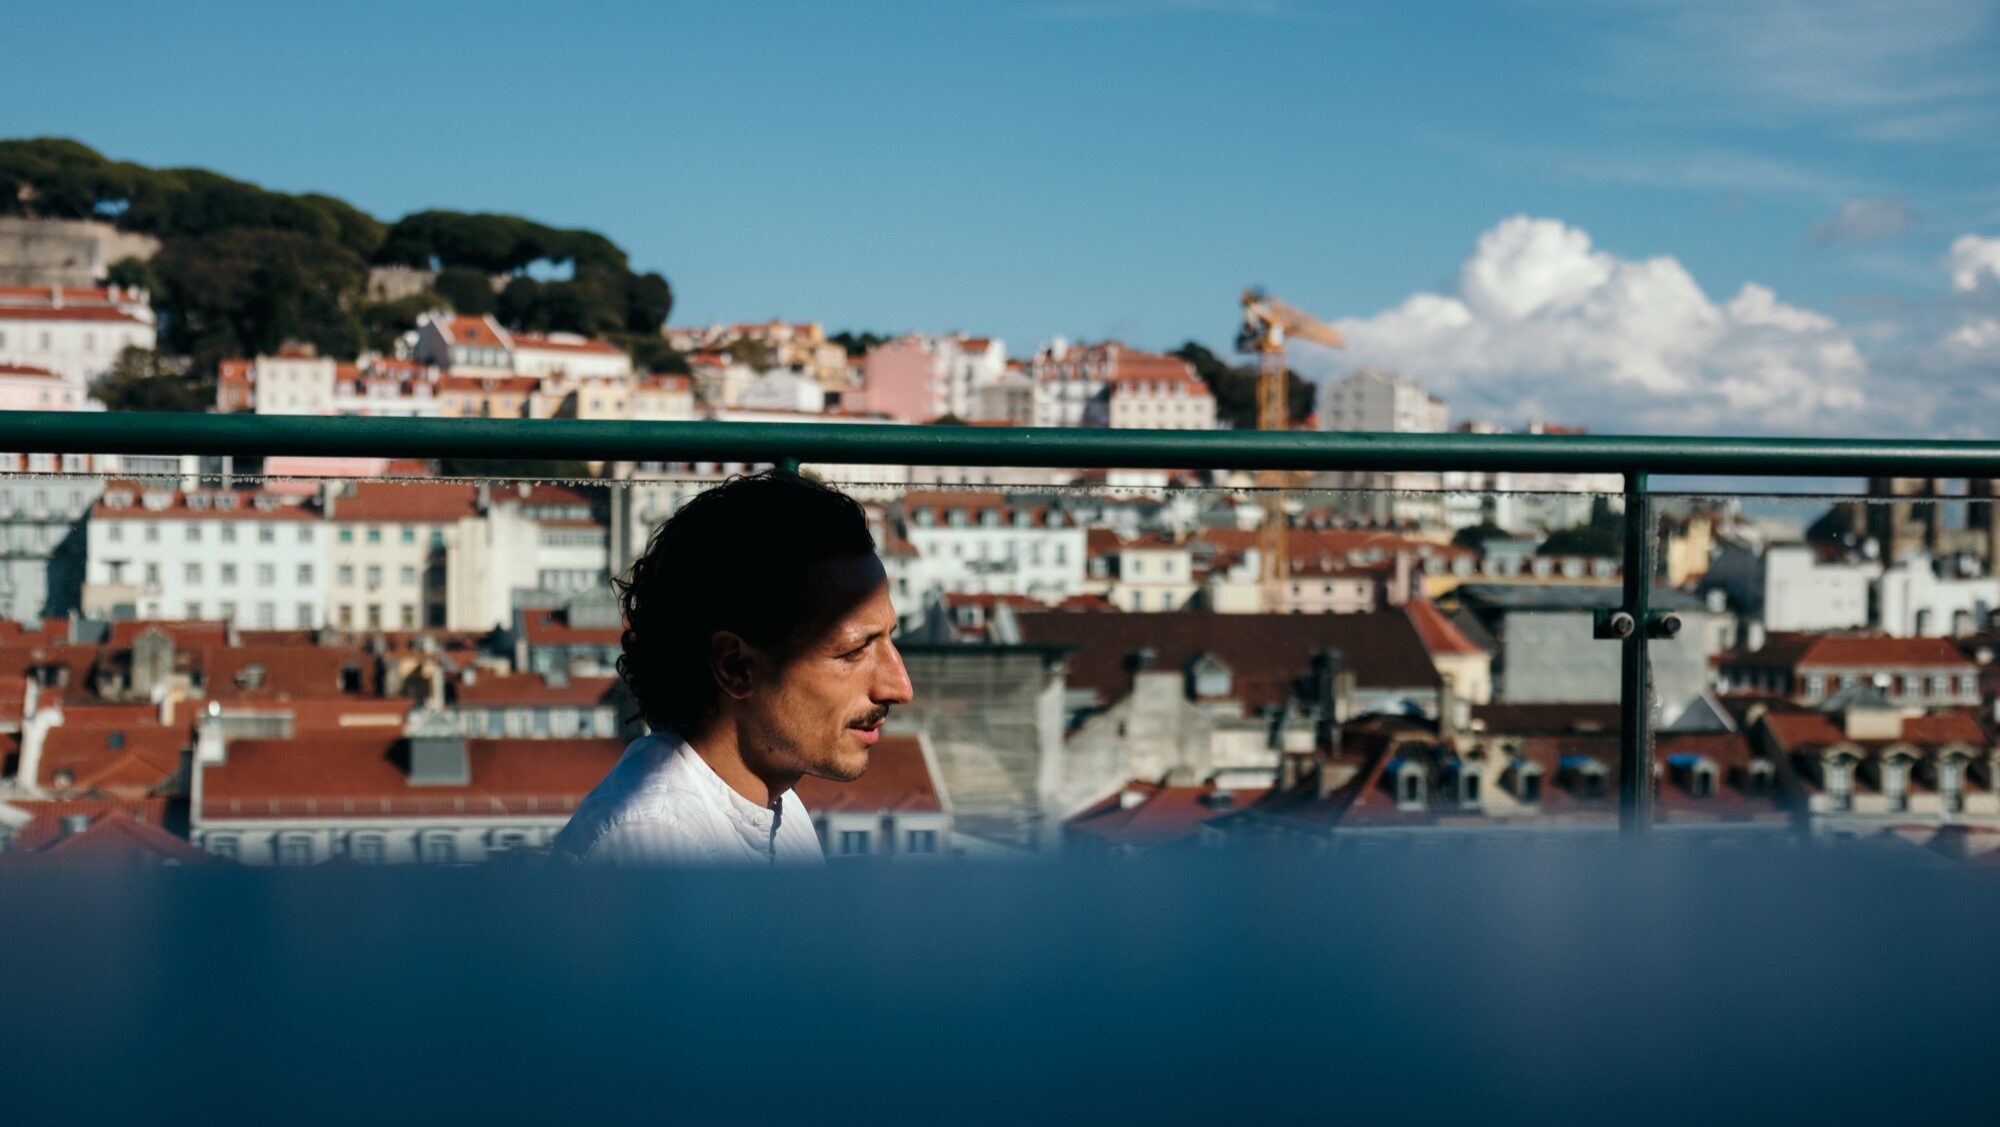
It was here that I grabbed what might be my favorite photo series from the whole trip.
Across from our table was this very animated Frenchman talking business with a local. The way the shadows and light fell across him made for a beautiful scene – so much so that I couldn’t stop making photos. Luckily, he didn’t seem to notice.
That night, we finished up our trip with a sailboat ride on the Tagus River.
Shot on the Canon EOS M6 and (mostly) the EF-M 32mm f/1.4.
Our Lisbon, Portugal trip came in several stages, so let’s start with the first part: our tuk tuk tour.
Our tour guide, João, picked us up near our Sintra guide’s meeting spot: the Hard Rock Cafe, on Avenida Da Liberdade (Liberty Avenue), early in the morning. From there, we took off in his tuk tuk to see some of the cathedrals and grand vistas around Lisbon.
This lower, flatter part of the city contrasts sharply with where a tuk tuk can take you next. Almost immediately, you begin climbing into Lisbon’s historic hills, where streets narrow and the buildings get older.
Sé Cathedral (Lisbon Cathedral)
Lisbon Cathedral stands as the city’s oldest major monument. While the current Romanesque structure dates to the 12th century, its origins go back much further.
It’s old, and dense: heavy stone walls, thick towers, with minimal ornamentation.
Contrast with that age: modern tuk tuks everywhere, trying to pick up tourists.
Monastery of São Vicente de Fora (Saint Vincent Monastery)
Perched above Alfama, São Vicente de Fora is one of Lisbon’s most important religious and historical complexes. Built in the 17th century, the monastery is dedicated to Saint Vincent, Lisbon’s patron saint, whose relics were brought to the city in the 12th century.
Up here, you could understand how Lisbon’s high ground was historically reserved for institutions of power, faith, and defense.
Photographically, this was one of my favorite spots on the tour. Bright white walls, deep shadows inside, and open courtyards gave me lots of room (and light) to explore.
From the Cathedral, we hit our first viewpoint area: Portas do Sol, with its view over Alfama, Lisbon’s oldest neighborhood (above). This viewpoint showcases Lisbon’s medieval layout: narrow streets, tiled facades, and terracotta roofs everywhere you look.
Plus, we had a great view of the Tagus River.
It was dizzying, traveling up those narrow streets. You lose your sense of direction pretty quickly.
And then, the city opens out in front of you…
Senhora do Monte Viewpoint and Chapel
The Miradouro da Senhora do Monte is one of Lisbon’s highest viewpoints. From up here, the city opens up in every direction, and João pointed out the old city and where it meets the newer parts of Lisbon (he was, admittedly, not a fan of the newer parts).
Behind us, a small chapel dedicated to Our Lady of the Mount (Senhora do Monte) sits quietly at the edge of the viewpoint.
We weren’t the only tourists looking out from this vantage point, but the space was open and clear enough to get a good view of the city under a bright morning sun.
Finishing up, we hit the hills back down to where we started, where João explained some of the history behind his wonderful city.
We asked João where we could get the best pastel de nata in town, and he steered us to a little cafe not far from our original meeting point.
Together with a cup of coffee, the pastel didn’t disappoint.
Shot on the Canon EOS M6 and a mix of EF-M lenses.
Fujifilm cameras are famous for their film simulations that give images a unique character straight out of the camera.
One of the most beloved of these is Classic Chrome, known for its subtle tones, soft contrast, and cinematic feel.
But what if you shoot Canon? Good news: as I’ve talked about before with film emulations like Kodachrome and T-Max, you can get surprisingly close to that Fujifilm look with Canon’s Picture Style system.
Fuji’s Classic Chrome is all about restraint. It tones down saturation, especially in reds and blues, creating a muted, documentary-style color palette. Shadows lean slightly cool, highlights stay gentle, and the overall feel is understated – with a little touch of pink/magenta in bright spots. Think: vintage travel magazines or classic street photography.
And honestly, it’s very different from my own high-contrast, deep-saturation look. However, thanks to this Canassic Chrome (Canon + Classic = Canassic) emulation, we Canon users can achieve a similar look to that of Fuji using Picture Styles.
Here’s a quick comparison: my edit on the left, Canassic Chrome on the right:
I prefer my shadows to be black and my colors to pop (left). Classic Chrome (right) is different, a bit softer, and I took a chance on it during a recent trip to Lisbon, Portugal.
Canassic chrome in portugal
On our anniversary trip to Lisbon, Portugal, I loaded my Canon EOS M6 with Canassic Chrome to give it a spin.
What made this trip great was the variety of weather conditions. We saw sunny beach scenes, rainy and foggy hilltops, ocean cliffs, sea-side sunsets, and the contrasty urban environment of old town Lisbon.
Above, it shows its subtle tones and desaturated look on the beach at Costa De Caparica, Portugal.
I’ll have more to share on our Portugal trip, but throughout this Canassic Chrome discussion, you’ll see photos from the M6 that show what Canassic Chrome can do.
Above, I try Canassic Chrome on a rainy, foggy day in Sintra, exploring the colorful palaces and green hillsides.
Adding a touch of warmth by using Canon’s cloudy white balance was maybe a bit too much – but that’s what the experiment is for.
Here, I took Canassic Chrome for a test drive on the beaches of Costa de Caparica, close to sunset, to capture the soft, golden hour tones of the Atlantic coast.
These show the slight pink and magenta cast the Picture Style offers. It’s definitely a unique look.
WHere to get canassic chrome, and how to install it
Initially, you could grab Canassic Chrome from a site called Canon Style. Their YouTube channel remains, but the site is no longer available.
Thankfully, you can grab the Picture Style from Anh Hàng Xóm on Gumroad (I threw $1 at him, just to say “thanks”)
Once you have downloaded the PF3 file, follow these steps to install it on your Canon camera.
Set your camera to shoot either JPG only or JPG + RAW, and select the Picture Style to have your camera save a Chrome JPG.
Go out and find something to photograph to test it out.
Above are some scenes from around Old Town Lisbon – bright and sunny, showing that Canassic Chrome can be a versatile film emulation that I found flexible enough to both fit my style and provide a unique look to these pictures.
How to create your “Classic Chrome-style” Picture profile file
Want to create a Chrome style all your own? Canon’s Picture Styles give you full control over how your JPEGs (and preview images in RAW) render color, contrast, and sharpness. You can tweak existing profiles or load custom ones into your camera using Canon’s Picture Style Editor or third-party styles designed to emulate Fujifilm simulations.
The look to shoot for: muted global saturation (especially red/orange), slightly cool/teal shadows, restrained highlight roll-off, modest contrast in midtones. Overall, a cinematic and documentary feel (quiet, desaturated, moody). Use this as the target when building a Canon Picture Style.
Open either the Faithful setting or the Canassic Chrome as a base style in the editor.
Adjust parameters to your liking:
Contrast: –2
Saturation: –2
Color Tone (or colour tone/hue): slight warm shift (+1)
Sharpness: a modest increase (+2)
Save/export the result as a .PF2 (or .PF3 if your camera supports it).
Use EOS Utility (Canon’s camera software) to upload the PF2 to your camera’s custom picture-style slot.
Shooting with THIS Classic chrome Profile
Using a Classic Chrome-style Picture Style lets you capture photos with mood and personality straight out of camera. It can save editing time, help maintain a consistent aesthetic across shoots, and inspire a slower, more intentional approach to composition. Think of it like shooting film.
Coming back from Portugal, using the film emulation definitely saved on editing time. I picked a few selects from the JPGs and shared them on Instagram almost instantly. Since I can wirelessly transfer the photos from my M6 to my phone, it made sharing these photos super easy.
Whether you’re documenting a quiet street corner in Lisbon or chasing soft afternoon light near your own home, bringing a Classic Chrome vibe to your Canon setup is an easy way to infuse your digital pictures with timeless character.